Quilting a Large Jelly Roll Tote: Video Series
Share

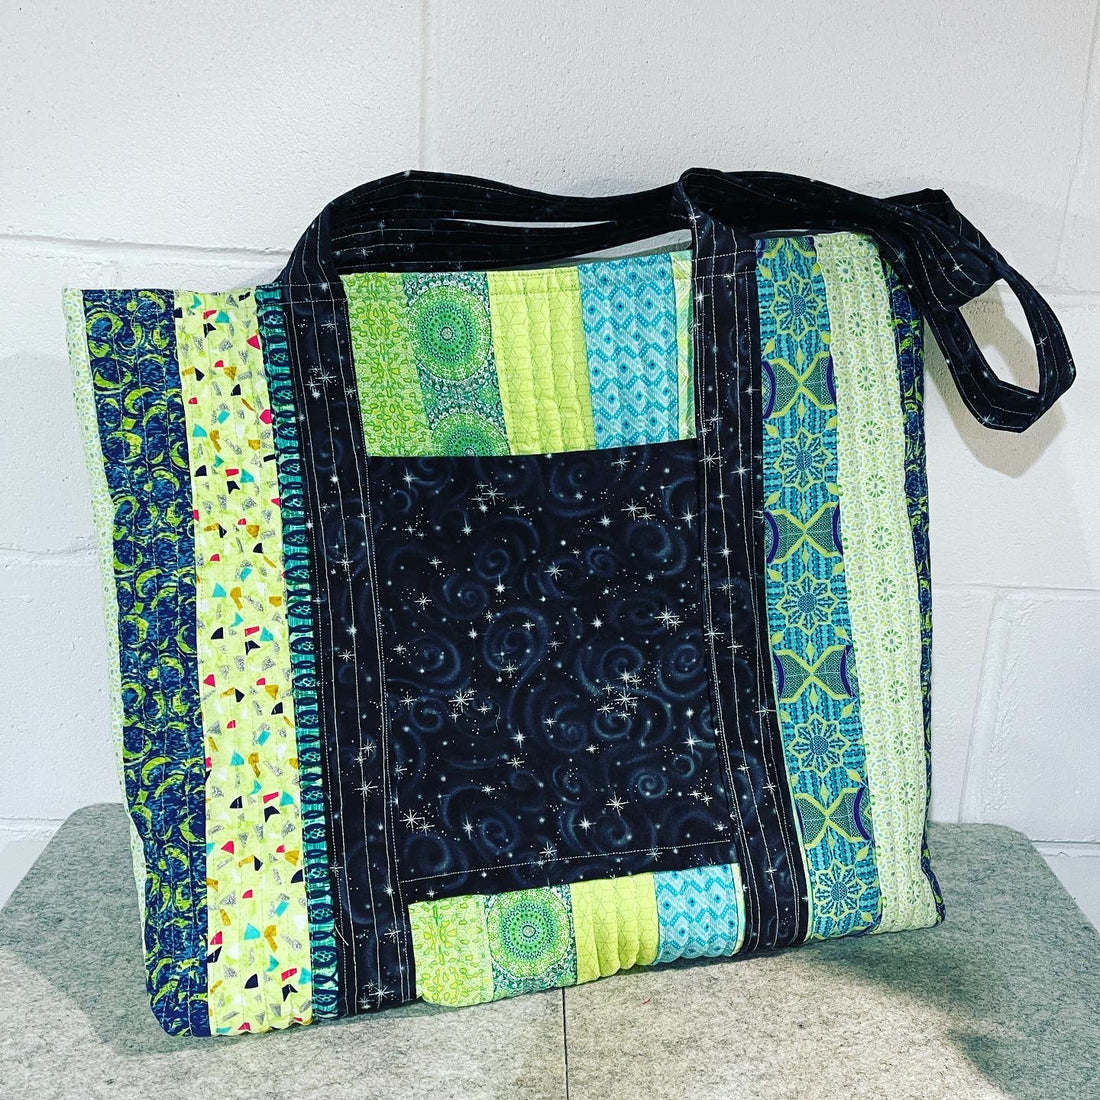
I created a 3-part series on quilting a simple tote bag with a pocket on each side. This is based on watching The Missouri Quilt Company’s tutorial. Once you make one or two of these bags, you start to see how you could get more creative (without shelling out for a formal pattern) by adding an interior pocket or two, side pocket to hold a bottle of water, etc…
Part 1: Creating the Exterior of the bag
Part 3: Lining, Boxing the bottom and finishing the tote!
I really enjoyed making this big one and love the smaller one I made for our trip to Tucson, AZ. These are great projects to use up some scrap batting and other scraps of fabric as you get more inventive with your own totes.

The Green tote in the video is made from 42” long jelly roll strips. I didn’t trim much length once I created the bag exterior, so it’s about 21” high, but certainly, you could adjust to any size you choose to make.
Do keep in mind for your bottoms – 1” up from the corner is a 2” boxed bottom. I made my bottom a bit too wide on my red crossbody but what’s quilting without a lesson learned?
I hope my videos help you tackle this fun project!
Materials you’ll need:
12 strips from one jelly roll (see table below for approximate bag size based on # of strips used)
Batting to cover the corresponding width plus scraps.
Interior Lining fabric – again, will depend on width and length of your bag
Pocket fabric – will be customized to bag size
Strap fabric – 4 strips, each 4” wide, from yardage material; again, your length will depend on how long you want your straps to be.
You can coordinate your lining to your straps and pockets or do them all in different fabrics – quilter’s preference!

